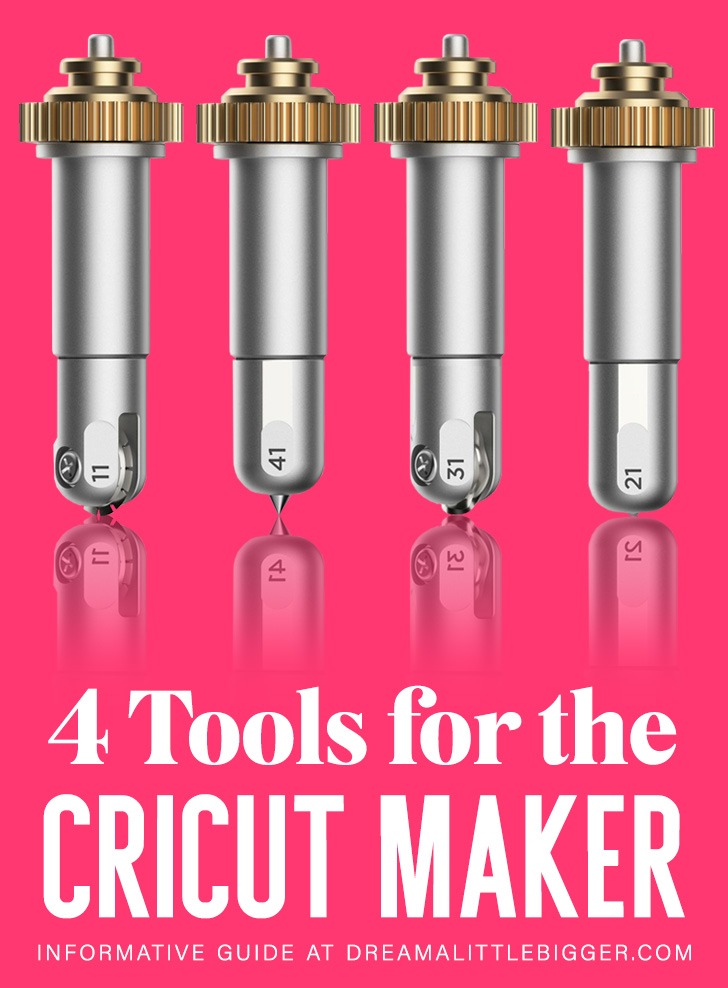
Embossing leather is a timeless craft that adds flair and personality to any leather object. From leather bags to belts to jackets, embossing can turn average leather goods into unique, one-of-a-kind items. Creating distinctive embossing patterns on leather can be a tedious and challenging task. However, Cricut Maker has taken the world of leather embossing to a new level by making it quick and easy.

Cricut Maker is an electronic cutting, etching, and embossing machine that simplifies the process of creating intricate designs on a variety of different materials, including leather. With its enhanced design and rotational blade, this machine can precisely cut and create complex designs on even the most delicate materials.
With its engraving and etching capabilities, Cricut Maker can add a professional touch to any leather project. You can use Cricut Maker to engrave letters, numbers, patterns, and shapes onto leather with ease.
Here's what you need to know about embossing leather with Cricut Maker.
Materials Needed:
- Cricut Maker
- Engraving tip from Chomas Creations
- Strong Grip (Purple) mat
- Leather
- Cricut Design Space software
Steps
1. Choose a design: Before starting, choose a design that you would like to engrave onto your leather. You can choose a pre-made design from Cricut Design Space or create your own using software like Adobe Illustrator or Inkscape.
2. Set up your design in Cricut Design Space: Once you have your design, upload it into Cricut Design Space. Set the size of the design according to the size of leather you will be working with.
3. Attach your leather to the mat: Take your leather and attach it to a Strong Grip (Purple) mat. Make sure the leather is smooth and flat, with no bumps or wrinkles. If needed, trim the leather to fit the mat size.
4. Insert the engraving tip: Take the engraving tip from Chomas Creations and insert it into Cricut Maker. Ensure it is locked securely in place.
5. Load the mat into the machine: Push the mat in the machine and adjust the rollers to fit the width of the hexagonal leather. It is important to move the star wheels to allow clearance for your leather to pass through.
6. Follow instructions on Cricut Design Space: Turn on the machine and follow the instructions on Cricut Design Space to cut and engrave the design onto the leather.
7. Remove the leather from the mat: Once the engraving is complete, remove the leather from the mat. You have now embossed the leather with your desired design!
Tips
- Experiment with different designs to find what works best for the size and texture of your leather.
- Use your Cricut Maker on a regular basis to keep the blades sharp.
- Always be aware of the thickness of your leather; thicker leather may require a stronger engraving tip.
In Conclusion
Embossing leather with Cricut Maker is a fun and exciting way to add a personal touch to your leather projects. The Cricut Maker's precision cutting and engraving features bring unique designs to life on a variety of leather textures, with minimal effort. With this comprehensive guide, you can confidently create beautifully embossed leather goods with the Cricut Maker.